Event Recap: Valencia Street Art Corridor
On Saturday, I vended at Valencia Street Art Corridor. I’ve lived in the Mission District of San Francisco for over 5 years now and often see Valencia shut down on the weekend to cars and events taking place on the road. I haven’t known anyone else to participate in one of these, so I had no idea how well small vendors do there. Valencia Street is the popular shopping street in this neighborhood, so I’ve always wanted to give it a try.
The event was slotted for 2PM to 7PM, which is much later than the typical craft fair. This later show time was nice so I could sleep in and not rush in the morning, but I ended up just twiddling my fingers for over an hour anxious to get going. What made me even more nervous was that we were given only an hour to have access to our booth space. With unloading, parking the car, walking back, and setting up, an hour did not feel like enough time. I ended up sneaking in early at 12:30 to unload and was very lucky to find a close parking spot. I rushed to finish setting up by 2:15 and then had to adjust things in between customers until 2:30.

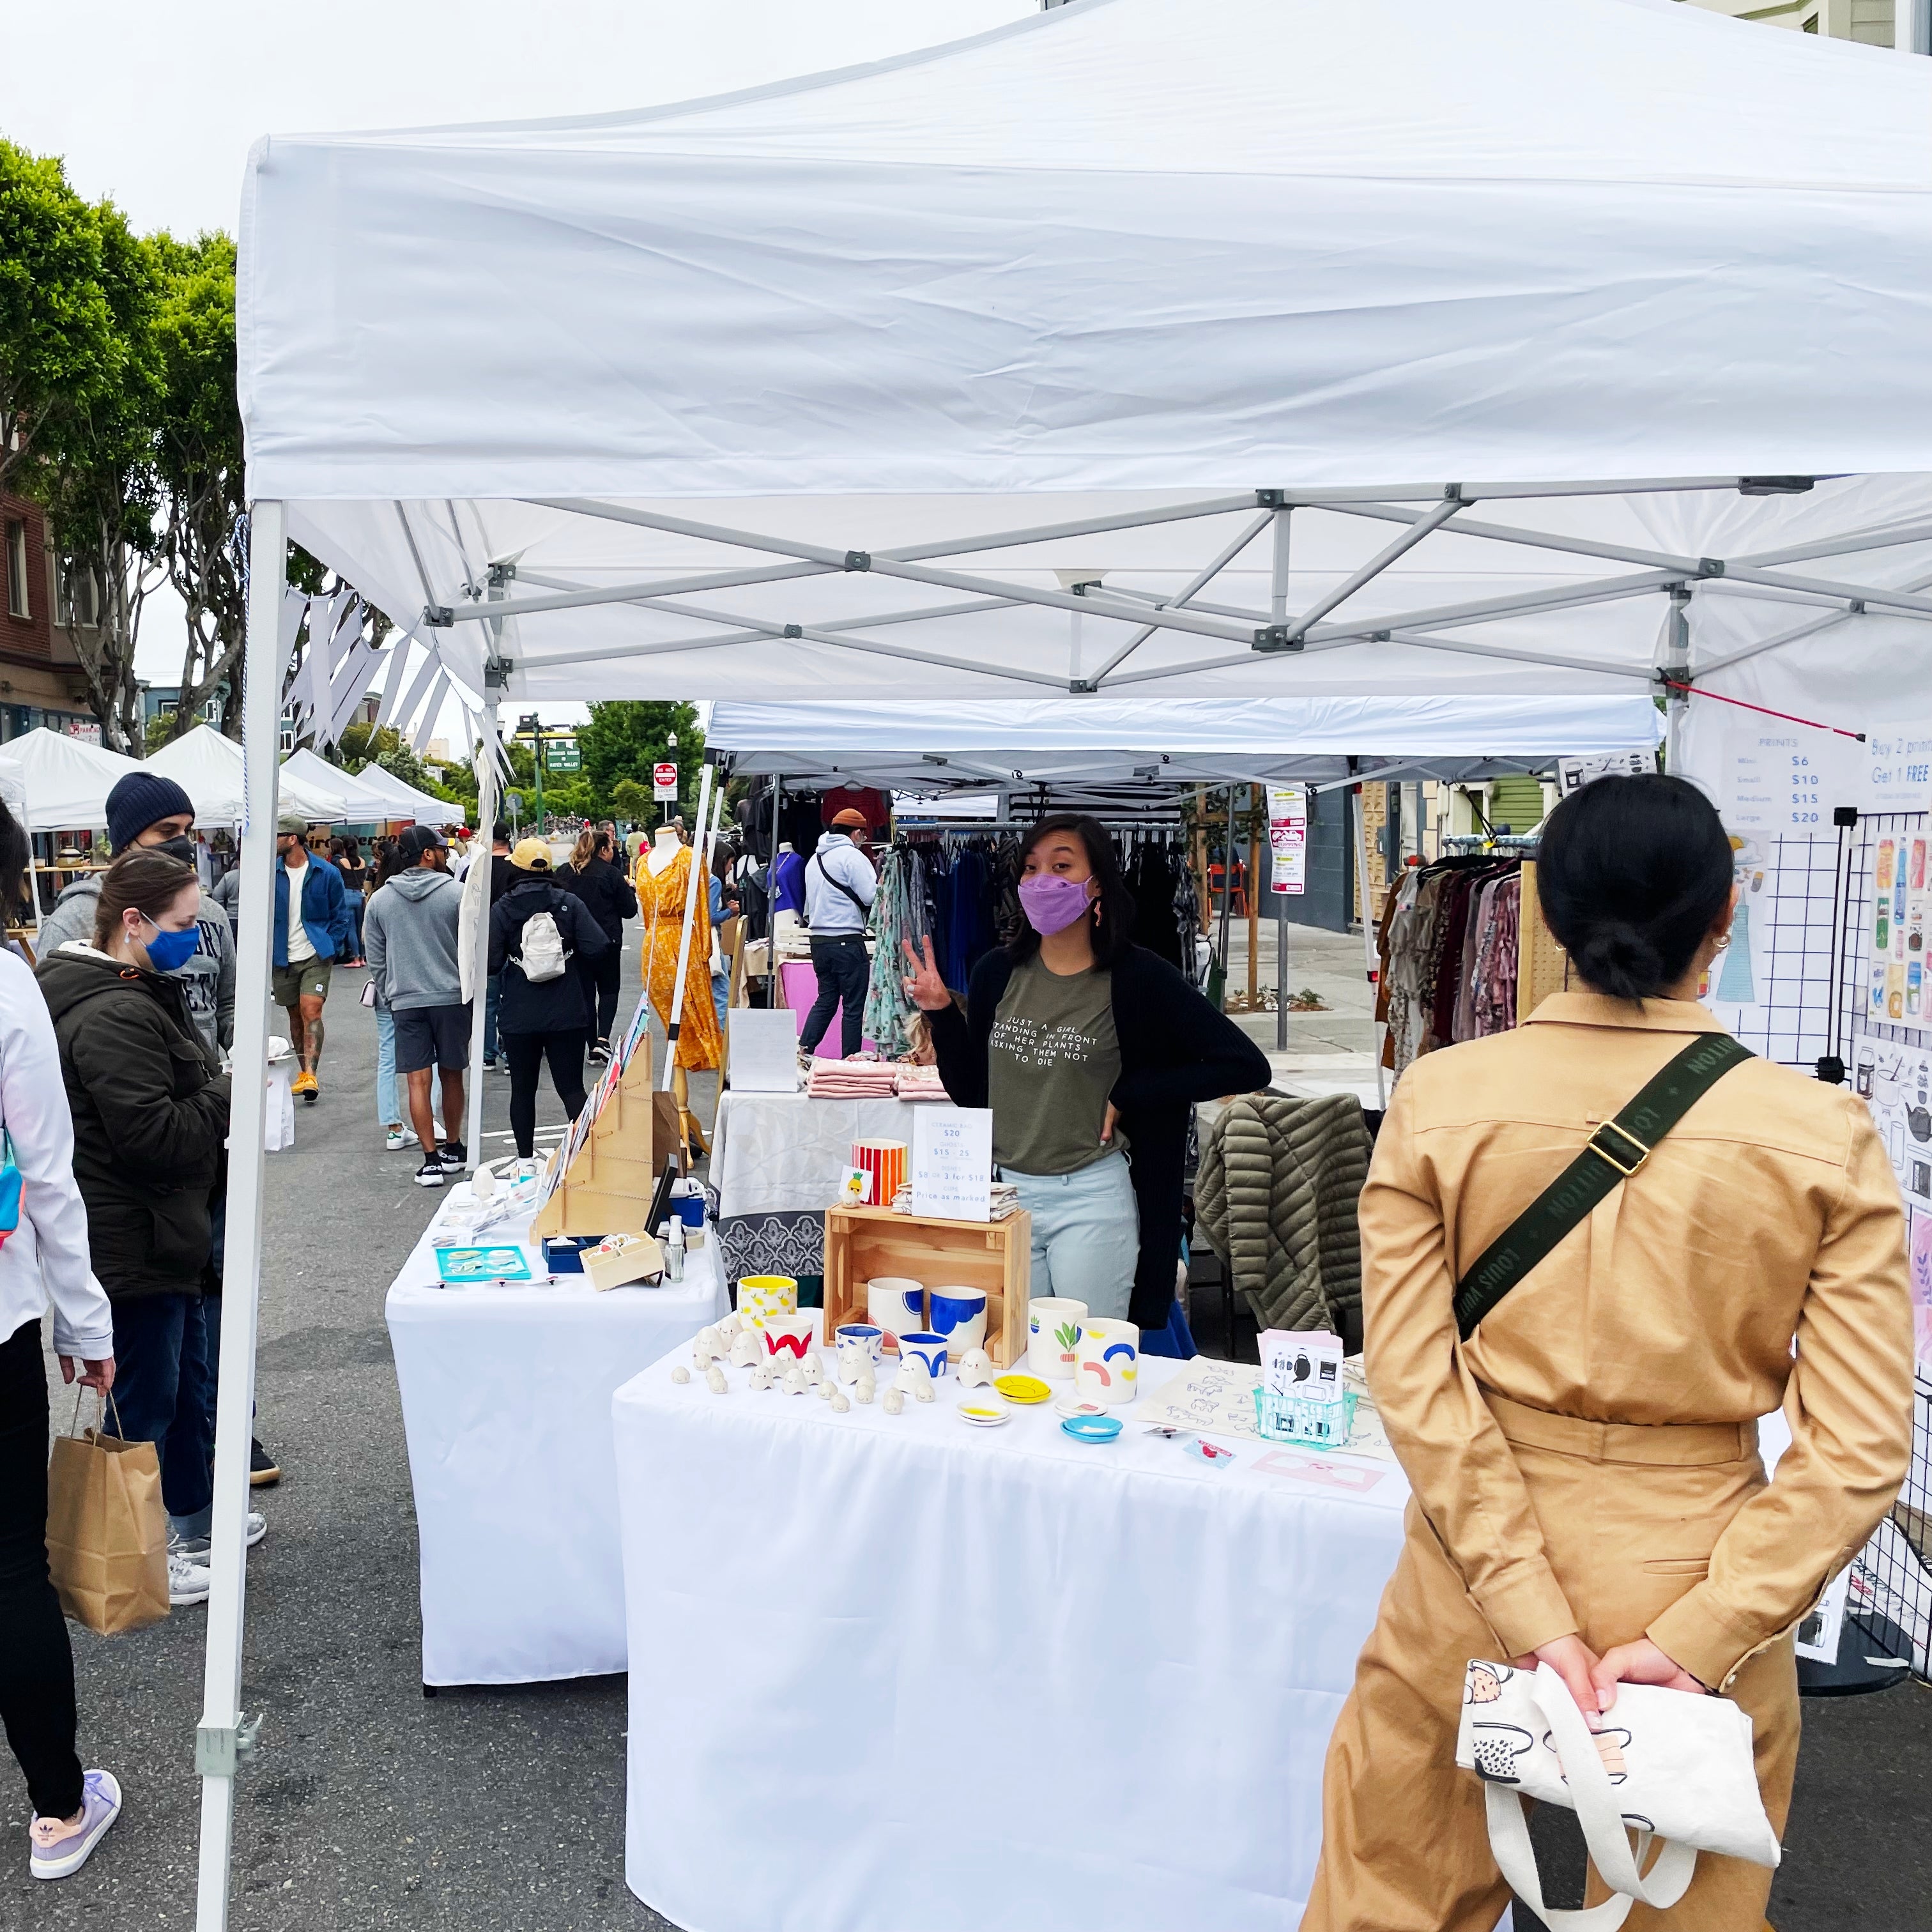
The sun was shining and the street was very busy during set up time. People walked into my booth to look around, but I was still in the middle of unpacking most of it. It was a shame because I think I could’ve made a lot of sales during those first 2 hours I was setting up. The traffic really slowed down by 4, so I think the event should’ve been 12pm-5pm. Everyone was headed to lunch or coming out of brunch around 12, so 2pm was too late to start. The sunset was at 5pm and everyone was heading off to dinner or in from the cold, so after 4:30 there was kind of no point in still vending. I did get a chance to see what my booth might look like in the dark, so I have an idea of how to set ups for night markets I’m planning to participate in next year.

Something I kind of forgot from what I wrote in my last blog post was that this is the most amount of product I’ve ever had. I of course was aware of this when I was packing everything into the car, but I realized I had a few more items than last time that I needed to squeeze into my set up. This ended up being a little chaotic during the rushed set up time. I almost forgot to put some things out since customers began coming in before I was finished.

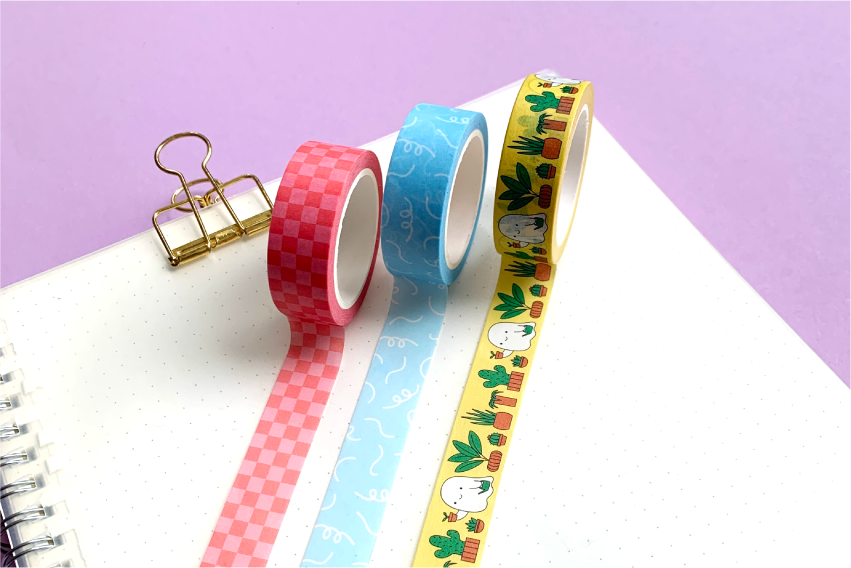
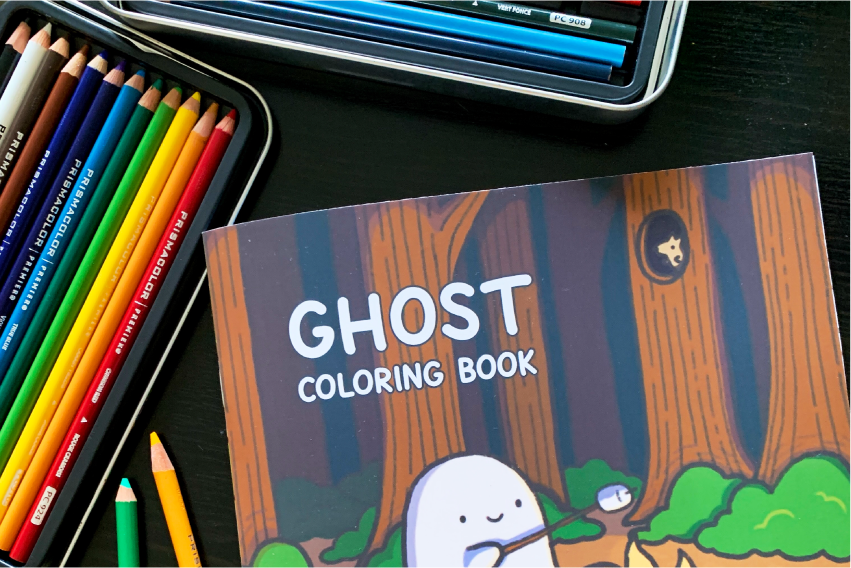
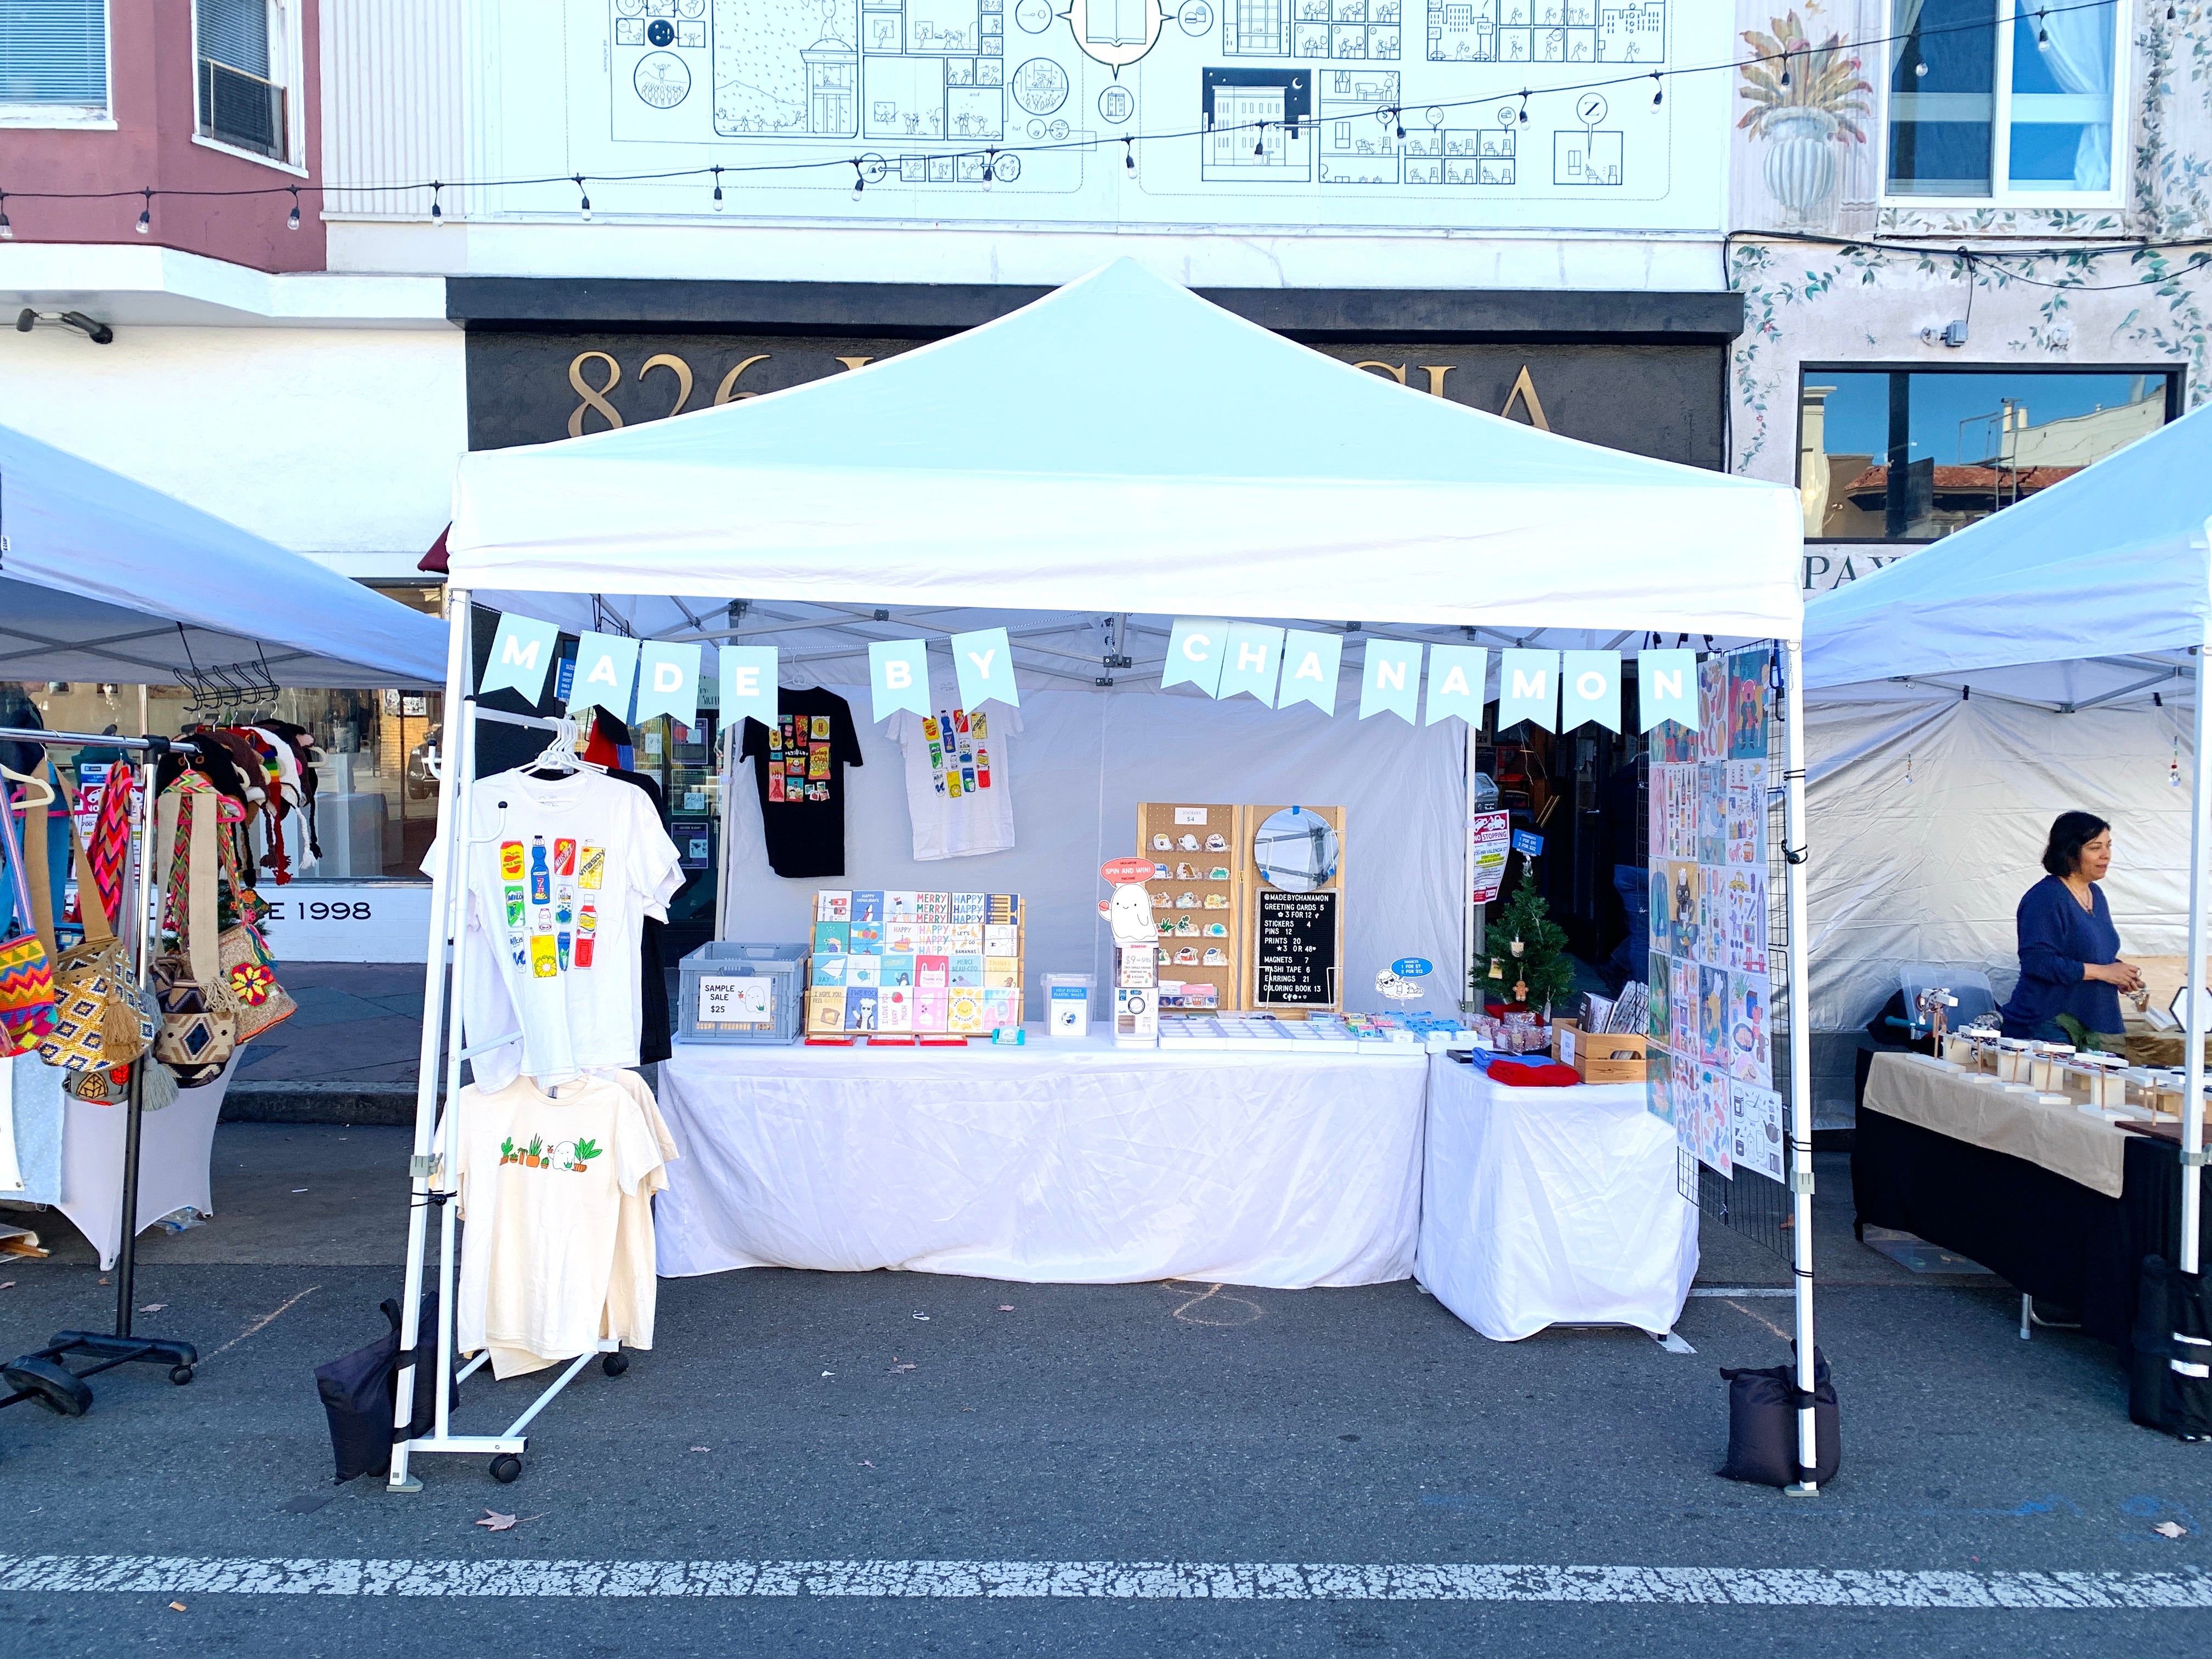
Two of the new items were the boxed sets of Christmas cards and washi tape. I only sold one of the washi tape sets, but from what I could hear from customers, they definitely had the gift-giving mindset while shopping. I really tried to have a range of products perfect for gifts this season, so I’m excited to see how it turns out by Christmas.

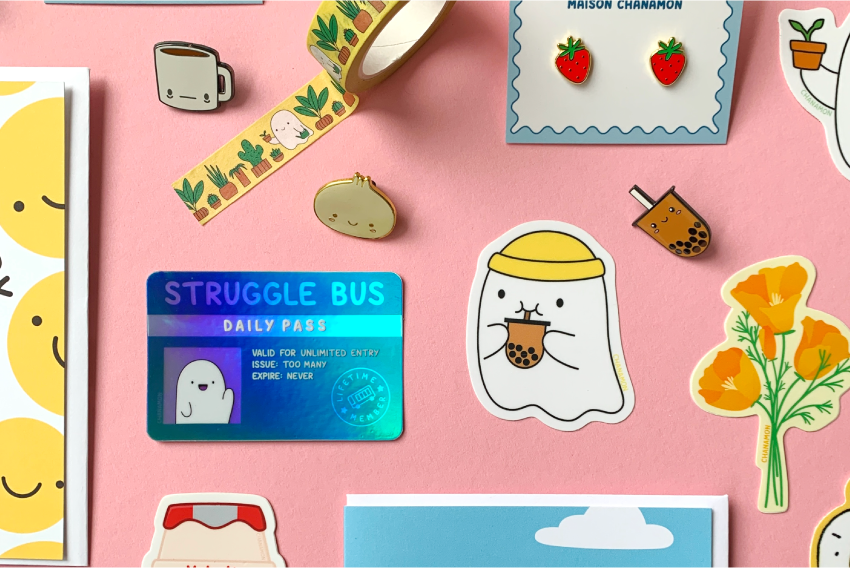
It was my second time having some stickers on vertical display, and it seemed they were not being missed. Of course, though, as I made that mental note, a customer said to her friend “I didn’t even realize there were all these down here [on the table]”. This is why I like to have all of one category of merch in one location so it can be all seen at once. I’ll be thinking this one over as I upgrade my booth setup and grow my catalog.

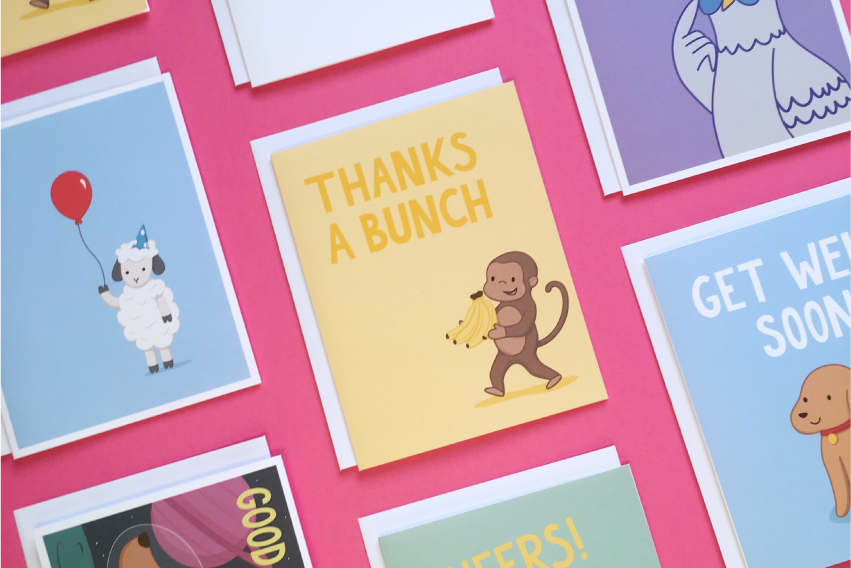
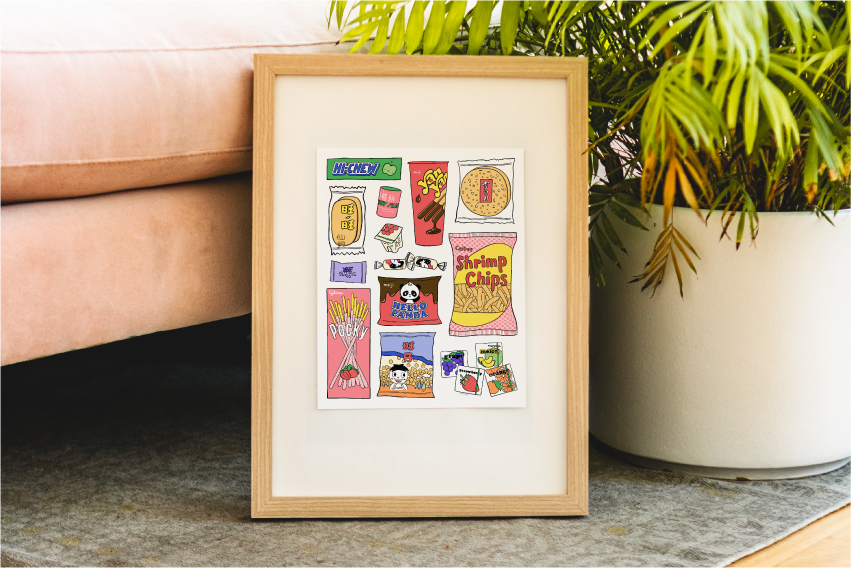
People were coming up to look at my booth as soon as I put up the print display, so it reaffirmed my decision to display as many prints as possible. I think the colors are a good eye catcher from far away and draws people in. It is just a bit cumbersome to find the wall (or wall-like) space to display what will hopefully be a growing collection of prints. I have some ideas of how to manage it for now, but I guess down the line I will only be bringing my best sellers or newest products to fairs anyway.

The Numbers:
Gross Sales: $946.71
Booth Fee: $64 for a 10x10
Number of Orders: 38
Event Hours: 2PM - 7PM (but we all packed up at 6PM because it was dead and cold)
Peak Sales Hour: 2-3PM
While the day was pretty slow and I didn’t sell as much as I usually do, I think the event was worth it considering the low booth fee. I will definitely be double-checking the event hours before I apply next time. Hopefully they’ll move the event up to earlier in the day to optimize peak traffic.
If you’d like to shop my goods in person, find me at these Upcoming Events.
If you liked this post, you can support me by:
👩🏻🎨 Checking out my art on Instagram @madebychanamon
🧋 Giving a tip on BuyMeACoffee
👩🏻💻 Visiting my website www.chanamon.com
💌 Sharing this post with your friends

Leave a comment
This site is protected by reCAPTCHA and the Google Privacy Policy and Terms of Service apply.